I decided to make my own custom notebook
I have a lot of hobbies/interests (fountain pens, photography, making things, etc.) and a lot of these interests came together for my last project: making a custom notebook.
I usually have a fountain pen nearby and over the years have started using pocket notebooks. I like the look of Field Notes Brand notebooks and use Field Notes to take notes at church or write down ideas/to-do lists. I like the way Field Notes look, but it is common knowledge the paper that is typically used in these pocket notebooks is not great for fountain pens (which doesn’t stop me from using Field Notes).
I find Rhodia paper to be pretty great for fountain pens (no bleeding, no feathering). My only real complaint with Rhodia paper is that it sometimes takes too long to dry.
I like pocket notebooks (3.5” x 5.5”).
I like Rhodia paper.
The problem
Rhodia doesn’t make a 3.5” x 5.5” notebook.
The closest size notebook that Rhodia makes is a side-stapled A7 (3” x 4.75”) pocket notebook which is a bit small for me as I already find the Field Notes format to be small at times. Also, I don’t believe that notebook comes in dot grid (which is my favorite).
The solution
Make my own notebook.
I’ve made a custom pocket notebook with Rhodia paper before, but this time I wanted to also incorporate my interest in photography.
The materials
-
Rhodia dotPad N 19
-
Red River 60lb Premium Matte Card Paper (from the greeting card sample set)
-
Photo printer
-
Cutting mat
-
X-ACTO knife
-
Eraser block
-
Bone folder
-
Metal Ruler
The Steps that I took:
Step 1: Photography
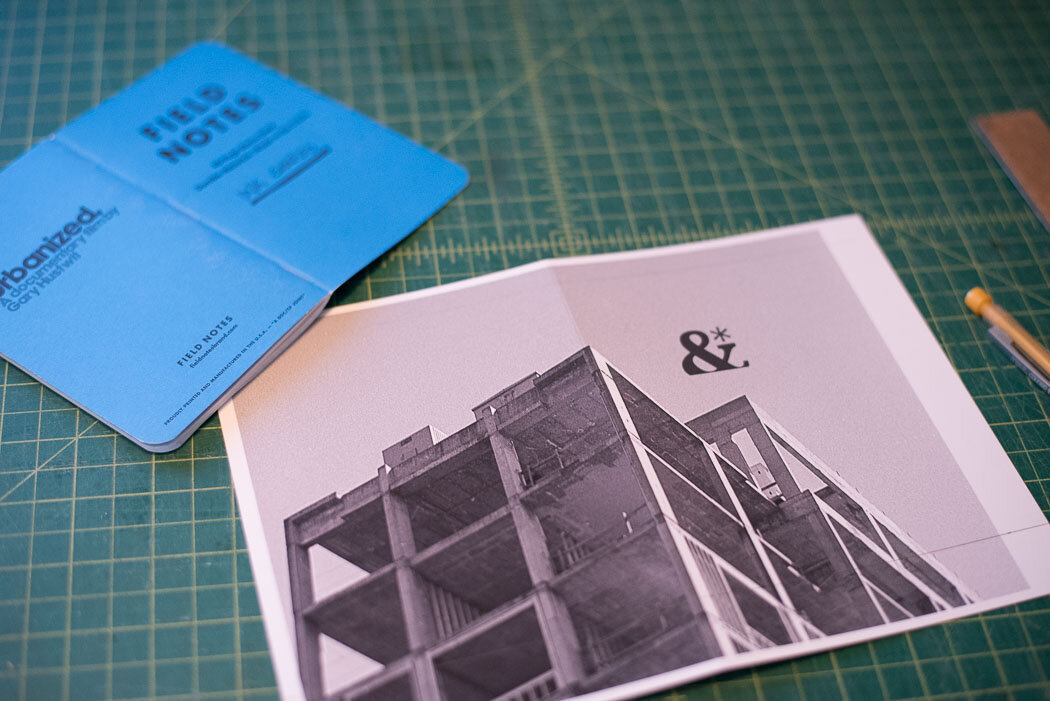
When designing the cover, I used a photo that I took with my Nikon F3 and added my logo. I printed the cover on Red River 60lb Premium Matte Card Paper. One nice aspect of using this paper for my cover is it is already scored in the middle.
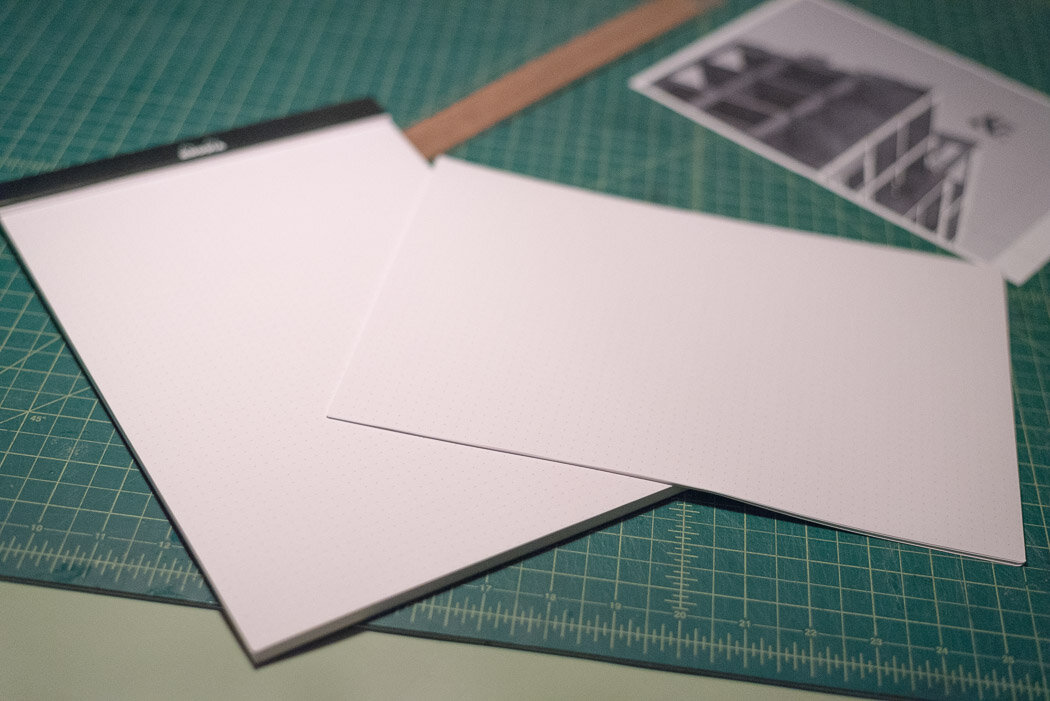
Step 2: Rhodia Paper
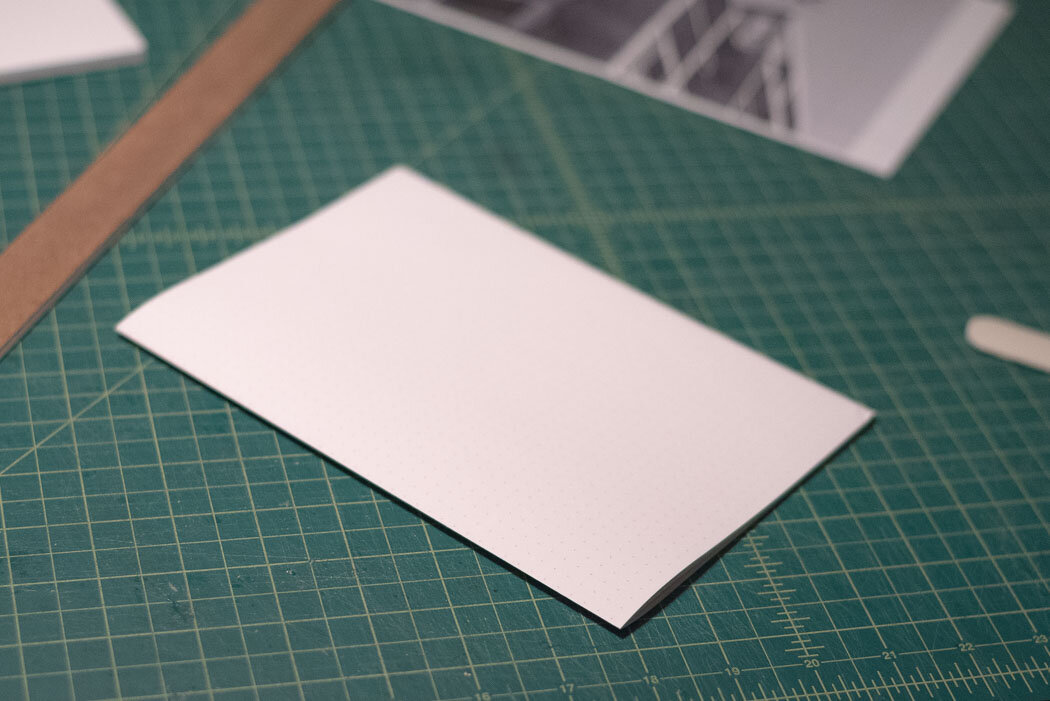
Since I wanted to have a 3.5” x 5.5” notebook in the end, I used the N 19 Rhodia dotPad (8.3” x 12.5”) as I could fold that paper in half and trim the edges. I took 12 sheets of paper off the pad to be used in the notebook.
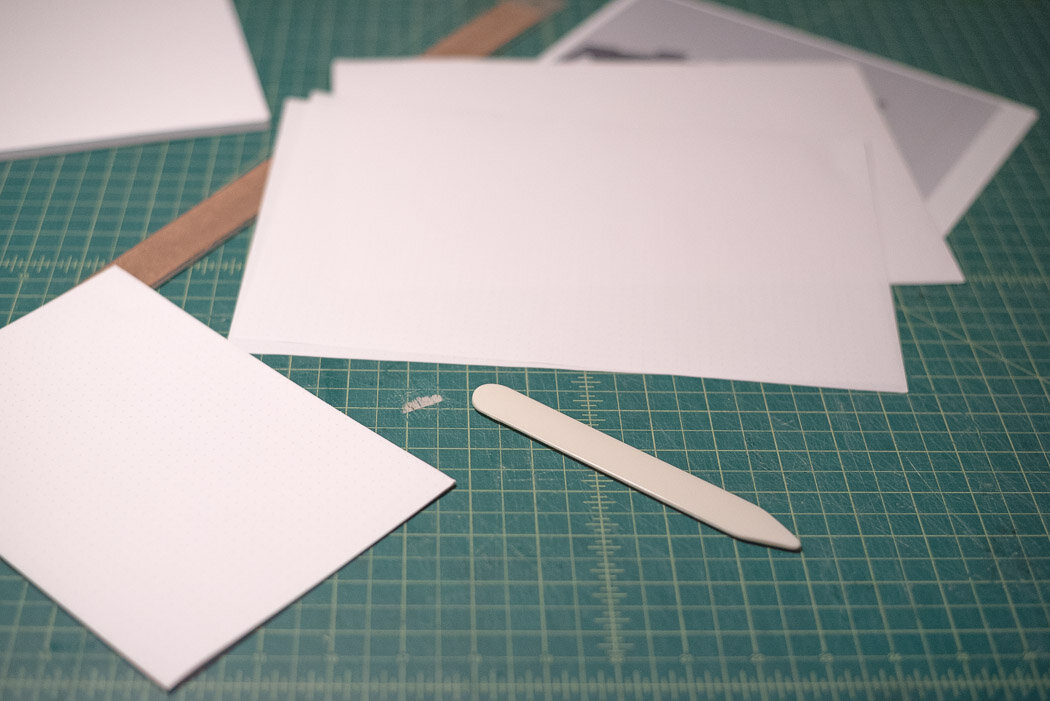
Step 3: Fold
Using a bone folder, I folded all 12 sheets in half.
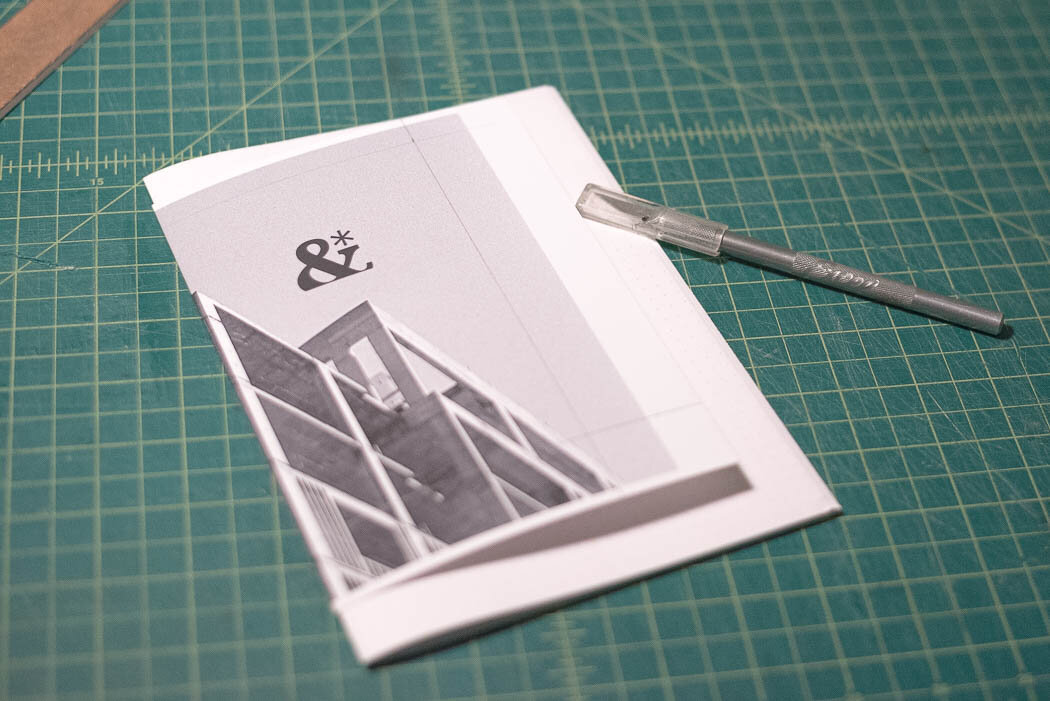
Step 4: Cover
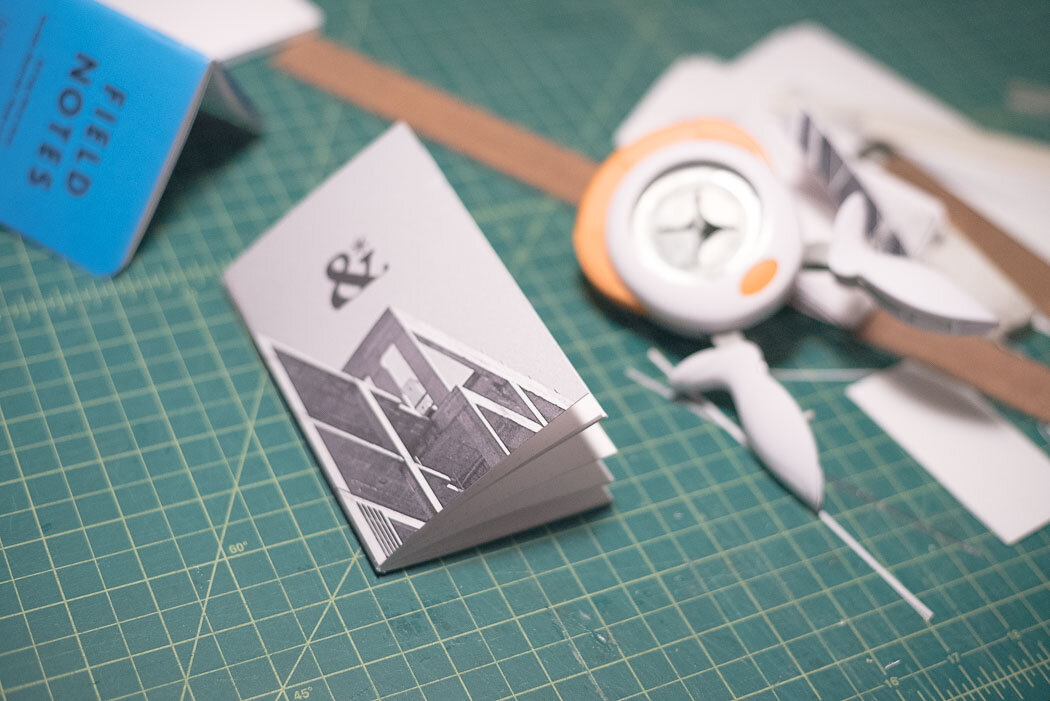
I then placed the printed cover over the folded Rhodia paper sheets. It is finally starting to look like a notebook. You can also see in this image that I had marked where I wanted the final 3.5” x 5.5” notebook to be within the larger image. One nice aspect of starting with an oversized cover and insert paper is that you can have a full-bleed image on your cover.
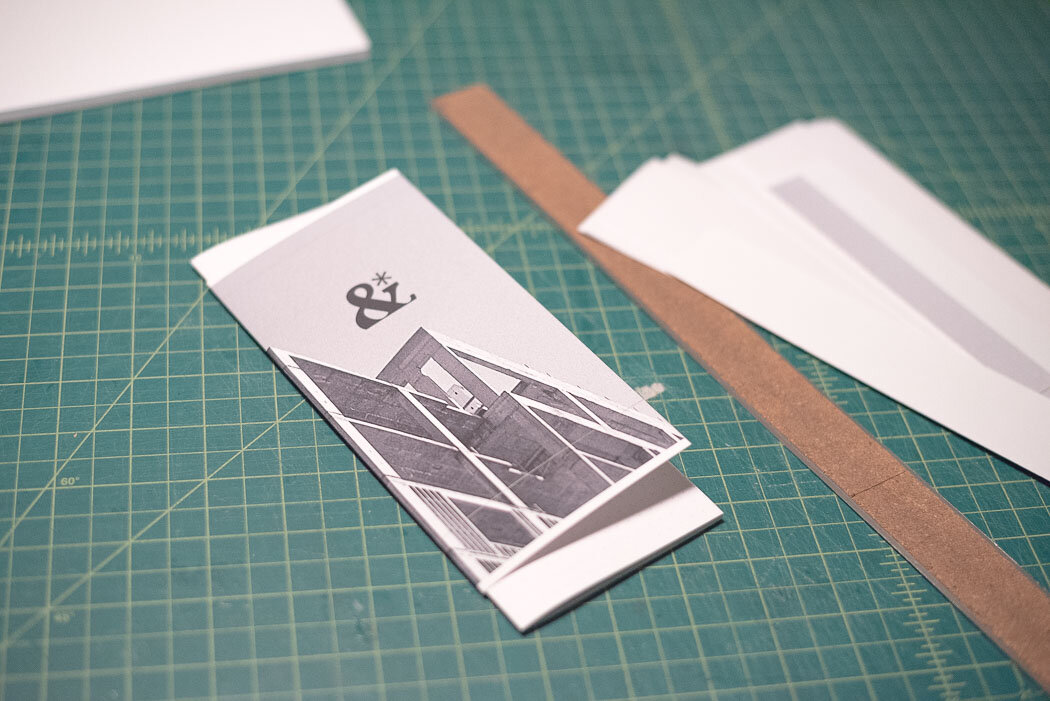
Step 5: Trim one edge (don’t do this)
This is actually something I would do differently on the next notebook, but I’m showing you want I did for this notebook. Using the X-ACTO knife and metal ruler, I trimmed one edge. The problem that I ran into is that since the notebook isn’t stapled together yet, once I stapled the notebook, the paper had shifted, which meant I had to trim the edge again after stapling the notebook. Because of this, I would not trim any edges until I stapled the notebook.
Step 6: Staple
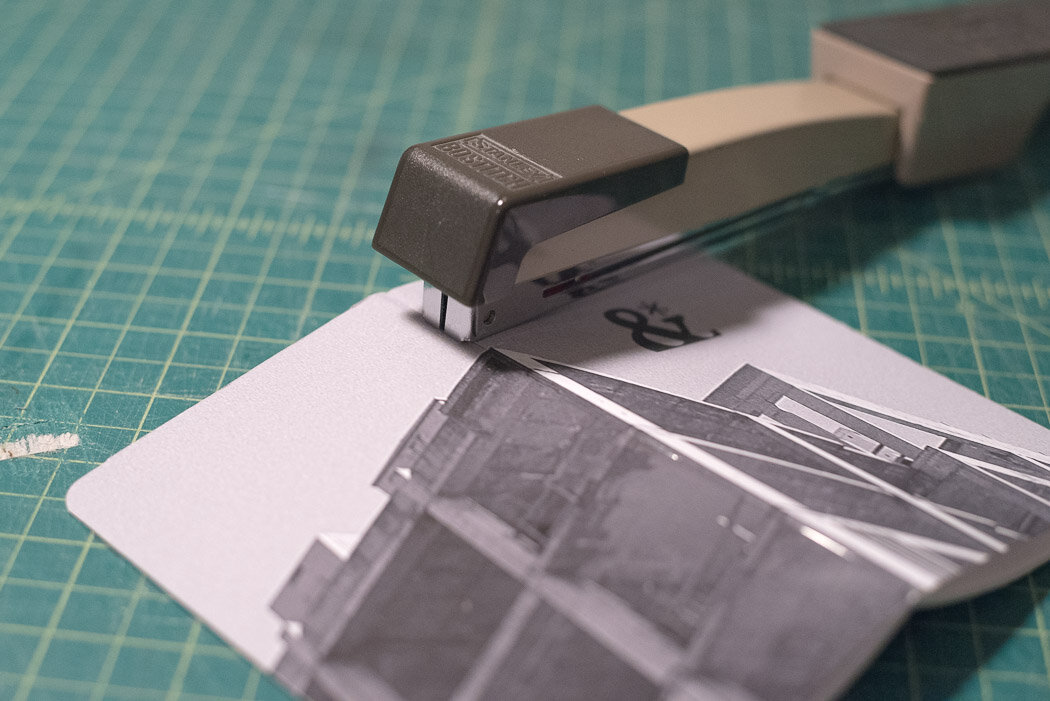
I don’t have a book binding stapler so I had to improvise the stapling process. I saw this tip on a book binding video and have found it works pretty well. Don’t use the stapler in the normal configuration, but instead have the stapler fully open (as if you were going to staple into a cork board/bulletin board).
Sorry I forgot to take a photo of this part at first, so please ignore the fact that I’m showing the stapler on a fully assembled notebook in the second photo of this step.
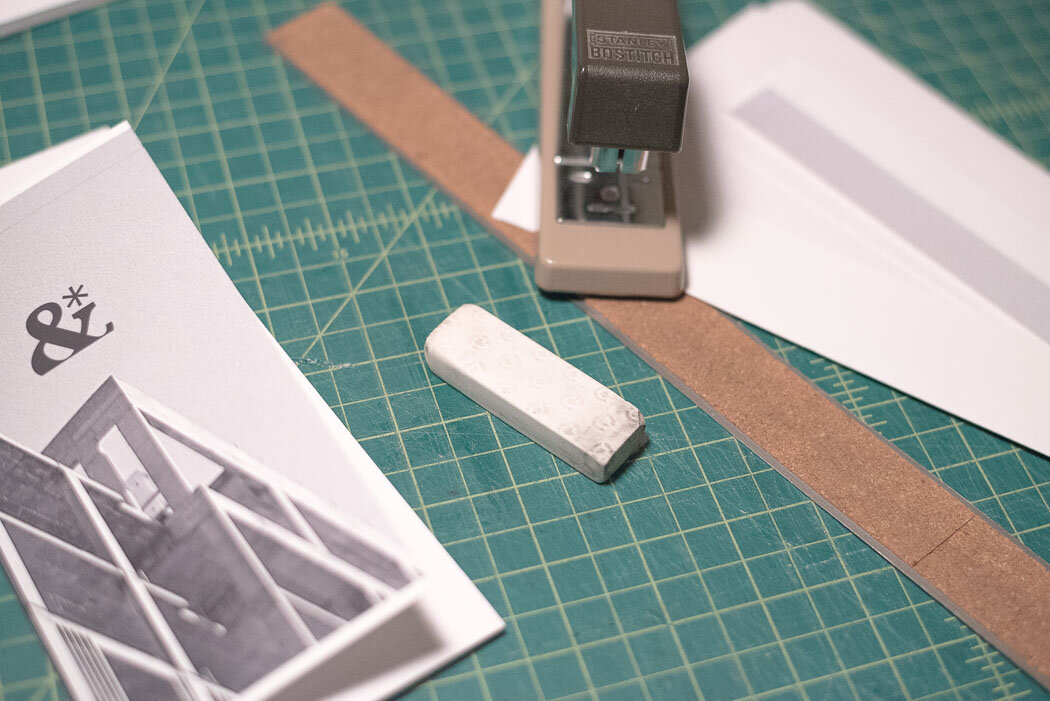
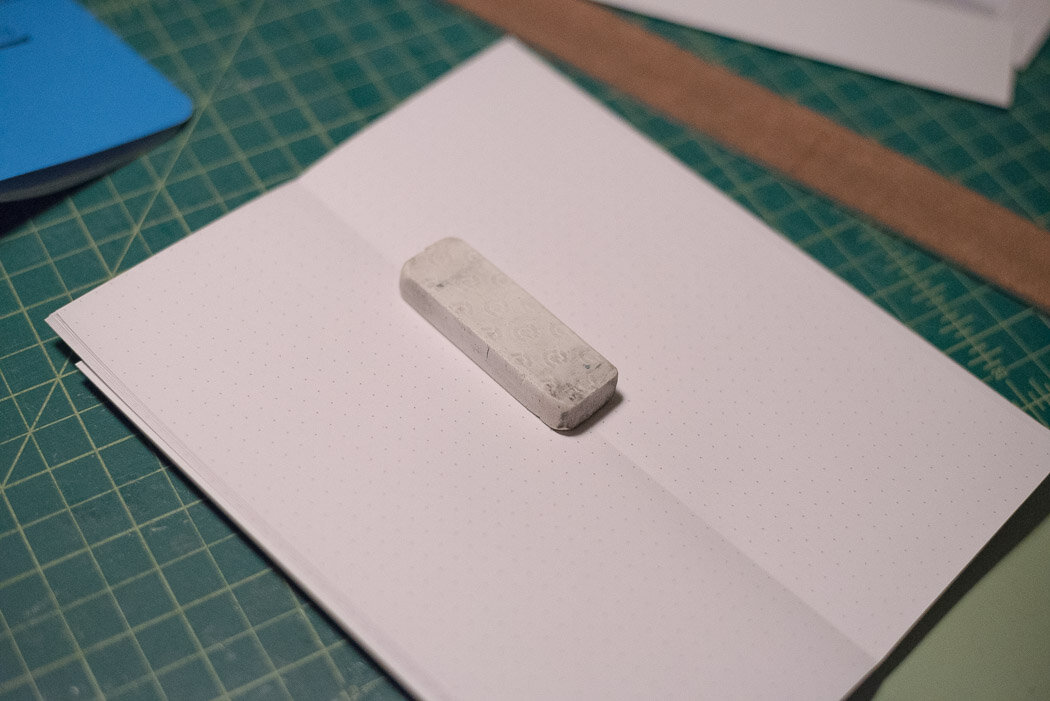
Place the eraser on the cutting mat and place the notebook fully open on top of the eraser so the eraser is under the spine of the notebook where you want a staple. Staple one staple (I started with the center staple).
After stapling one staple, flip the notebook over (the eraser should be stuck to the notebook as you just stapled it to the notebook).
Remove the eraser from the staple. You should have the two sides of the staple pointing up at this point.
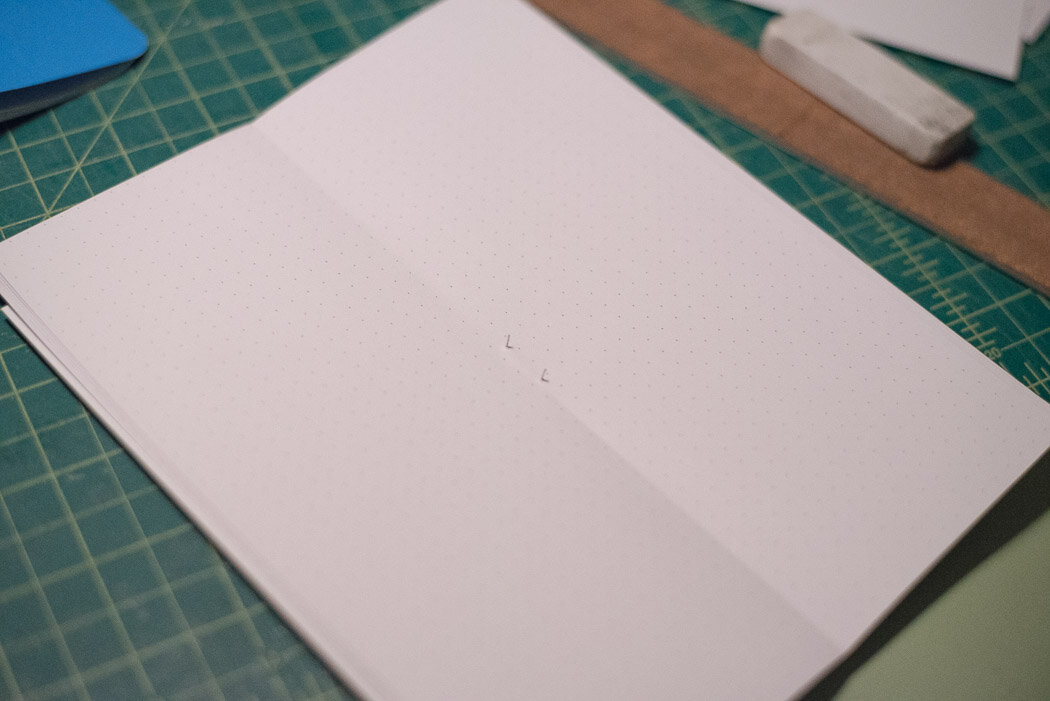
Use the metal ruler to bend the staple onto the paper. You have now completed one staple of the notebook. Repeat this step two more times for the remaining staples.
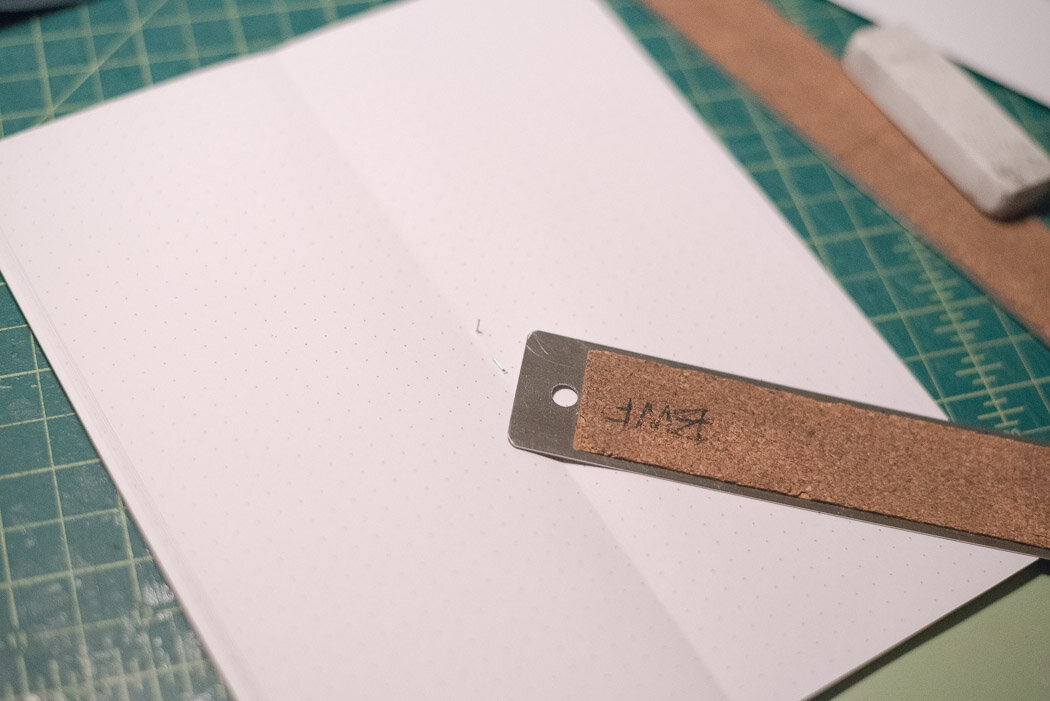
Step 7: Trim remaining edges
I used the X-ACTO knife and metal ruler to trim the remaining edges of the notebook. As I mentioned above in Step 5, I recommend waiting until this step to trim all the edges just in case the paper shifts while stapling. Because the paper shifted, I had to re-trim the edge that I had originally cut in Step 5.
At this point, you have a 3.5” x 5.5” (or close to that measurement after some trimming…) with square corners.
Step 8: Rounded corners
In this step, I used the Fiskars 3-in-1 Corner Squeeze Punch to round the two corners of the notebook to give it a more polished look. You can punch several sheets of paper at once, but make sure that the paper is aligned in the punch tool before punching the corners. You can re-punch corners if you didn’t fully have the paper in the tool, but you want to limit how much you keep punching corners as they could be uneven.
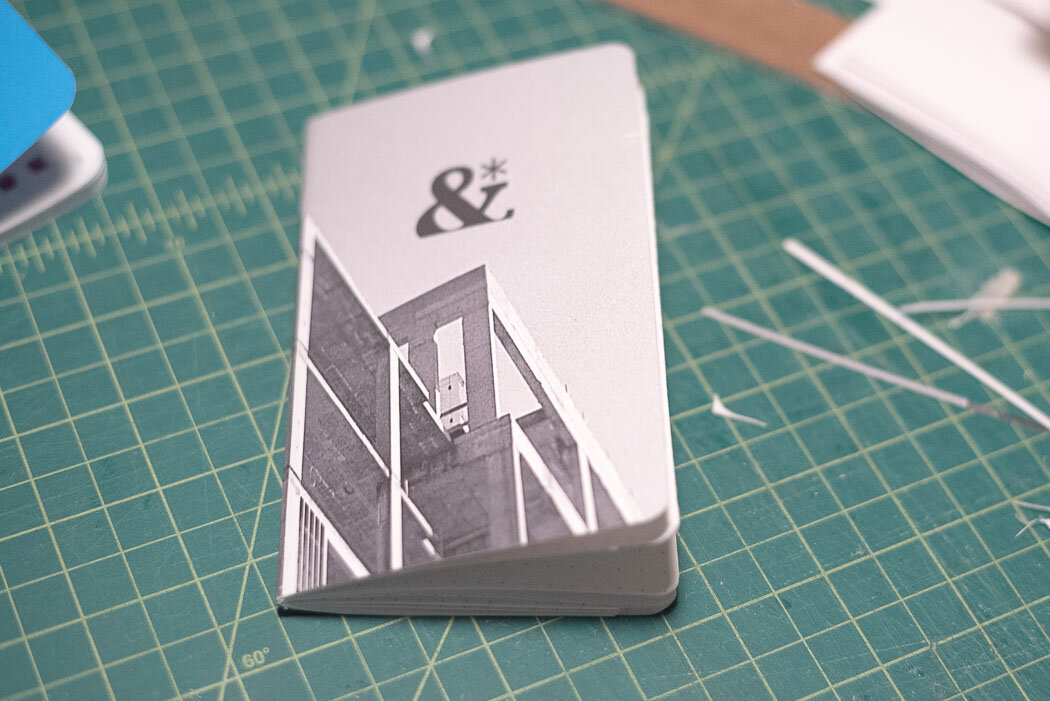
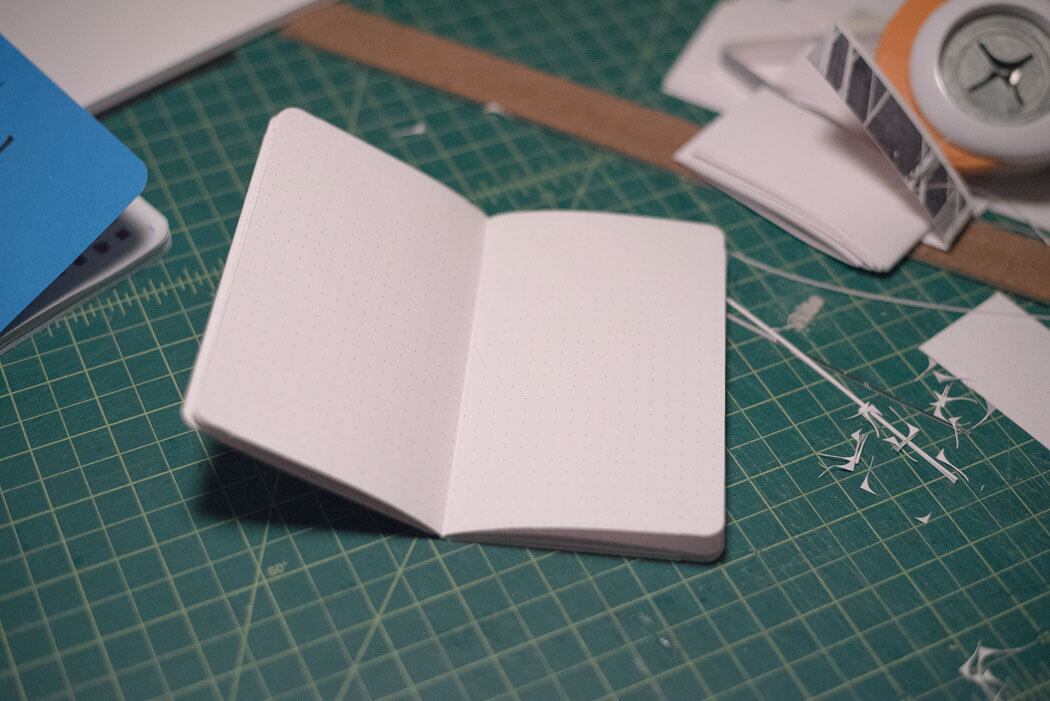
The final product
Now I have a custom pocket notebook filled with fountain pen friendly paper. It is also fun to have my photography and logo on the cover. The notebook isn’t perfect as it is handmade, but I enjoyed the process and it’s nice having a one-of-a-kind notebook to use. I need to think about what I would change when creating my next notebook.